Half the job in devops (or any engineering role, really) is keeping up. Kubernetes ships three minor versions a year, and a Helm chart that worked last quarter might not template cleanly today. The best way to stay sharp is to have your own environment where you can play around with new things, learn how they actually work, and grow without waiting for a work project to justify it. Three mini PCs and a weekend turned out to be enough to build one.
Why three mini PCs
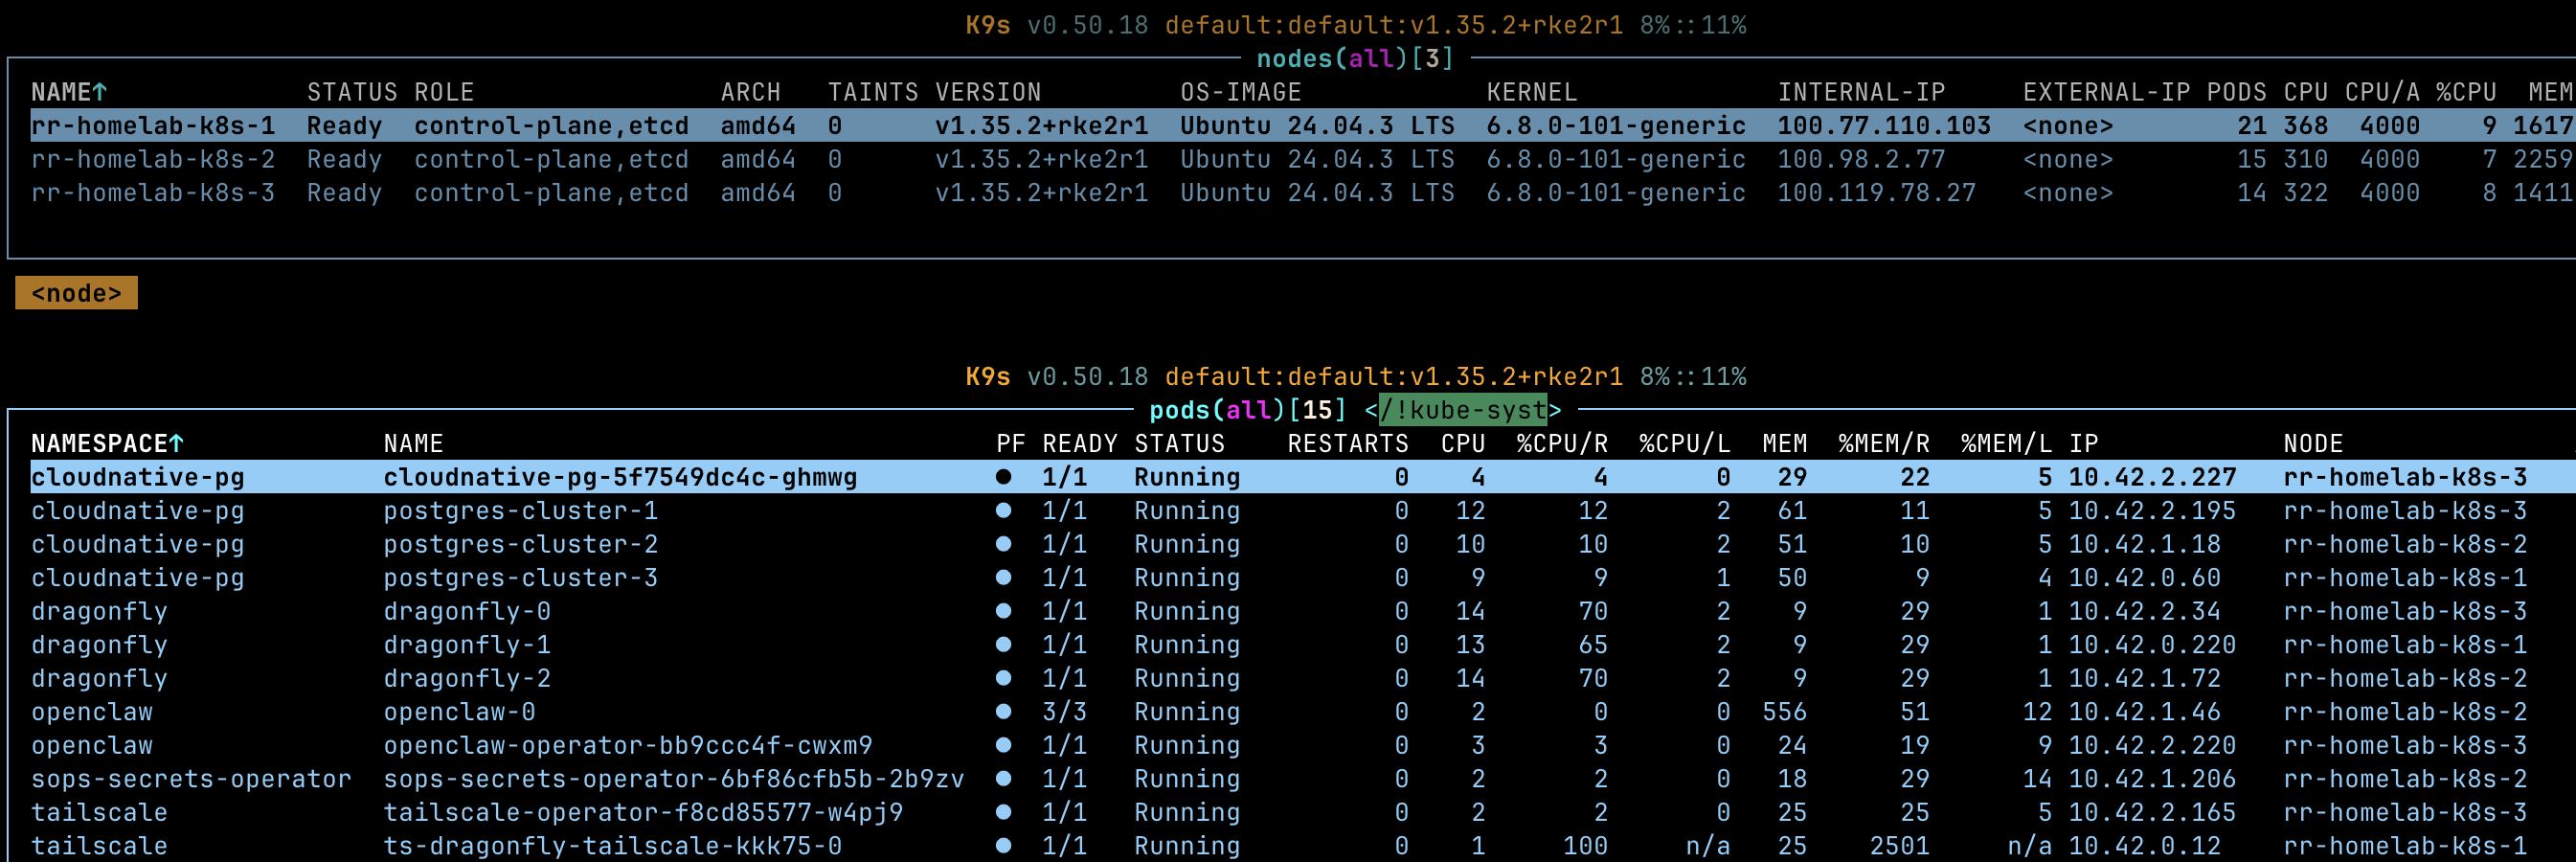
A multi-node setup unlocks running clustered software the way it’s meant to run. Deploy a ClickHouse cluster with shards spread across nodes, or spin up a PostgreSQL HA setup with a CloudNativePG operator, and suddenly you’re learning how Kubernetes operators actually manage failover, leader election, and data replication. On a single node or a local k3s all of that is fake. On three real machines you get a proper environment to break and fix these things without a cloud bill ticking in the background.
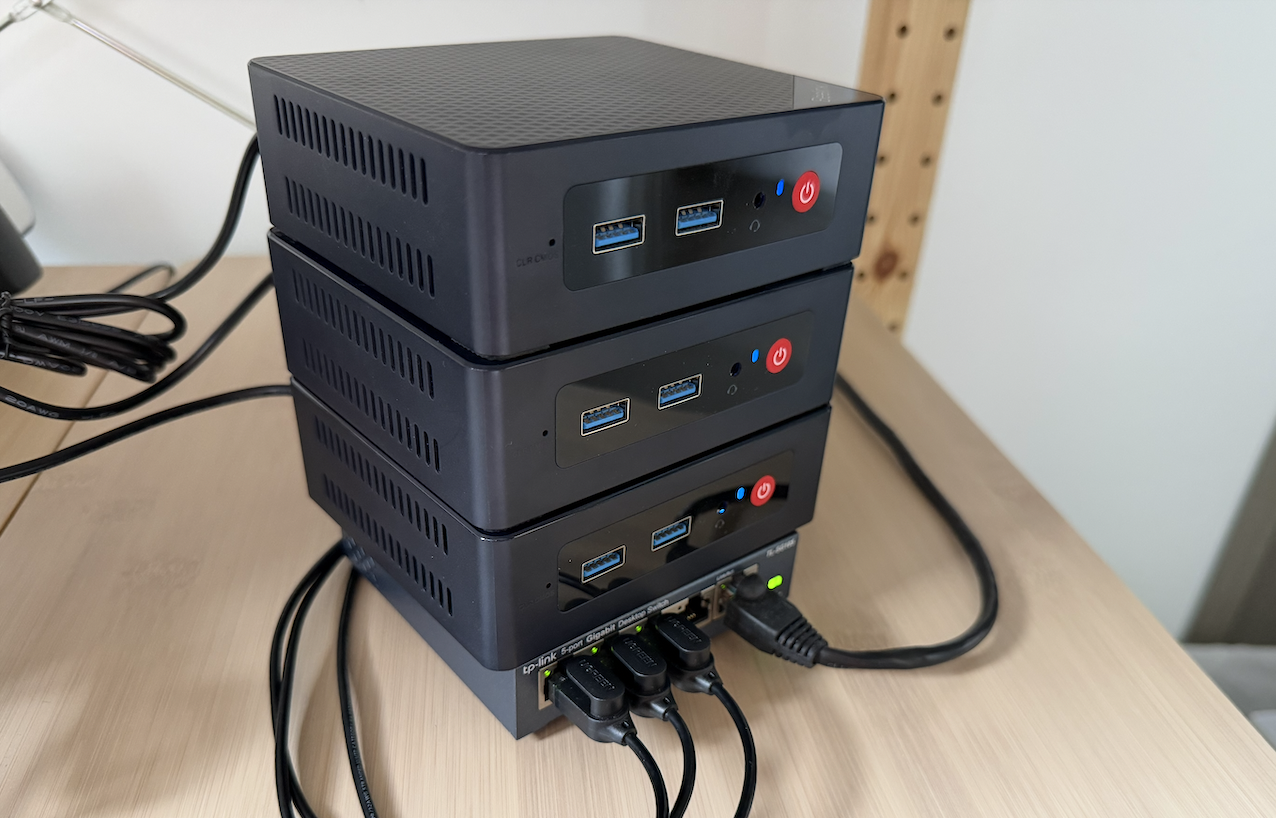
The setup here is three N100-based mini PCs. 16 GB of RAM each, 500 GB NVMe. The whole thing cost me around 1000 SGD (~750 USD, before the RAM price explosion). They’re quiet, they sip power, and three nodes is enough for a proper HA control plane with etcd quorum.
If buying three boxes sounds like too much, a single beefier machine running Proxmox with three VMs inside works too. You get separate OS instances and separate IPs, so Kubernetes treats them as real nodes. But one hardware failure kills everything. For learning that’s probably fine. Separate machines won here because they were cheap enough to make the High Availability meaningful.
Which k8s distribution?
After comparing k3s, MicroK8s, and RKE, the choice landed on RKE2. k3s is great for lightweight setups, but RKE2 uses standard upstream components like containerd and etcd instead of swapping things out for lighter alternatives. What you learn on RKE2 transfers directly to production clusters running vanilla Kubernetes. It also ships with CIS hardening and SELinux policies enabled by default, so the security posture matches what you’d actually want in staging or production. The install is still just a script per node. One config file on the workers to point them at the server, and you’re done.
Getting it running
The whole setup took about an hour. Install RKE2 on the first node, grab the token it generates, then run the agent install on the other two with that token and the first node’s IP. Once all three were up the cluster was ready. Copy the kubeconfig to your laptop and start deploying.
Stretching into the cloud with Tailscale
This is where it got interesting. Tailscale on all three mini PCs gives each one a stable 100.x.y.z address on the tailnet. No more worrying about the router’s DHCP handing out different IPs after a reboot. Use those Tailscale addresses in the RKE2 config and forget about the home network entirely.
The interesting part: spinning up a small Vultr instance and an AWS t3.medium, putting Tailscale on both, and joining them to the cluster. No VPN tunnels, no port forwarding, no firewall rules on the router. They just show up as nodes. This is what turns the setup from a toy into something practical: the local hardware handles baseline workloads cheaply, and cloud capacity from whatever provider makes sense is one tailscale up away. Want to test how your app handles nodes in different regions? Add a GCP instance in another continent and schedule a pod there.
Latency is the obvious catch, so latency-sensitive pod-to-pod traffic shouldn’t cross different geographical regions, but for CI runners, batch processing, or just seeing how an app reacts to a slow node, it works well enough.
The Tailscale operator
Tailscale also has a Kubernetes operator that goes beyond just connecting nodes. It exposes services to your tailnet so you do not need to set up your own Ingress. It also proxies the API server so you can kubectl in from any device on your tailnet, and handles cross-cluster connectivity if you run more than one cluster. Works on the free plan.
Was it worth it
Yes. One thing that stood out was storage performance. The NVMe drives in these mini PCs deliver tens of thousands of IOPS without breaking a sweat, while the cheap cloud block storage you get on entry-level VMs often tops out at a few hundred. Once you run the same workload on a local node and a cheap cloud VM side by side, the difference is hard to ignore. Things that fly on the NVMe crawl on cloud block storage.
Beyond raw IOPS, the whole development loop just feels snappier when the cluster sits on the same network as your laptop. Deploying a new image, tailing logs, querying a database, all of it happens with sub-millisecond round trips instead of the 20-50ms you get to a cloud region. The cost math works out too.
In a few months this setup covered RKE2 cluster management, ClickHouse sharding with Zookeeper data replication, PostgreSQL failover with operators, networking across local and cloud nodes, and a bunch of storage and scheduling edge cases. Most of that would’ve taken much longer to get through on cloud VMs where you’re thinking about the bill. Tailscale turned the whole thing into a hybrid setup that reaches into whatever cloud you point it at, so it’s not isolated either.
On top of the learning side, the cluster pulls its weight daily. Right now it runs OpenClaw, Homebridge, n8n and a bunch of other tools. Having that on a proper HA cluster means it stays up even when one of the nodes goes down for maintenance or testing. Once the hardware is there, you find uses for it.